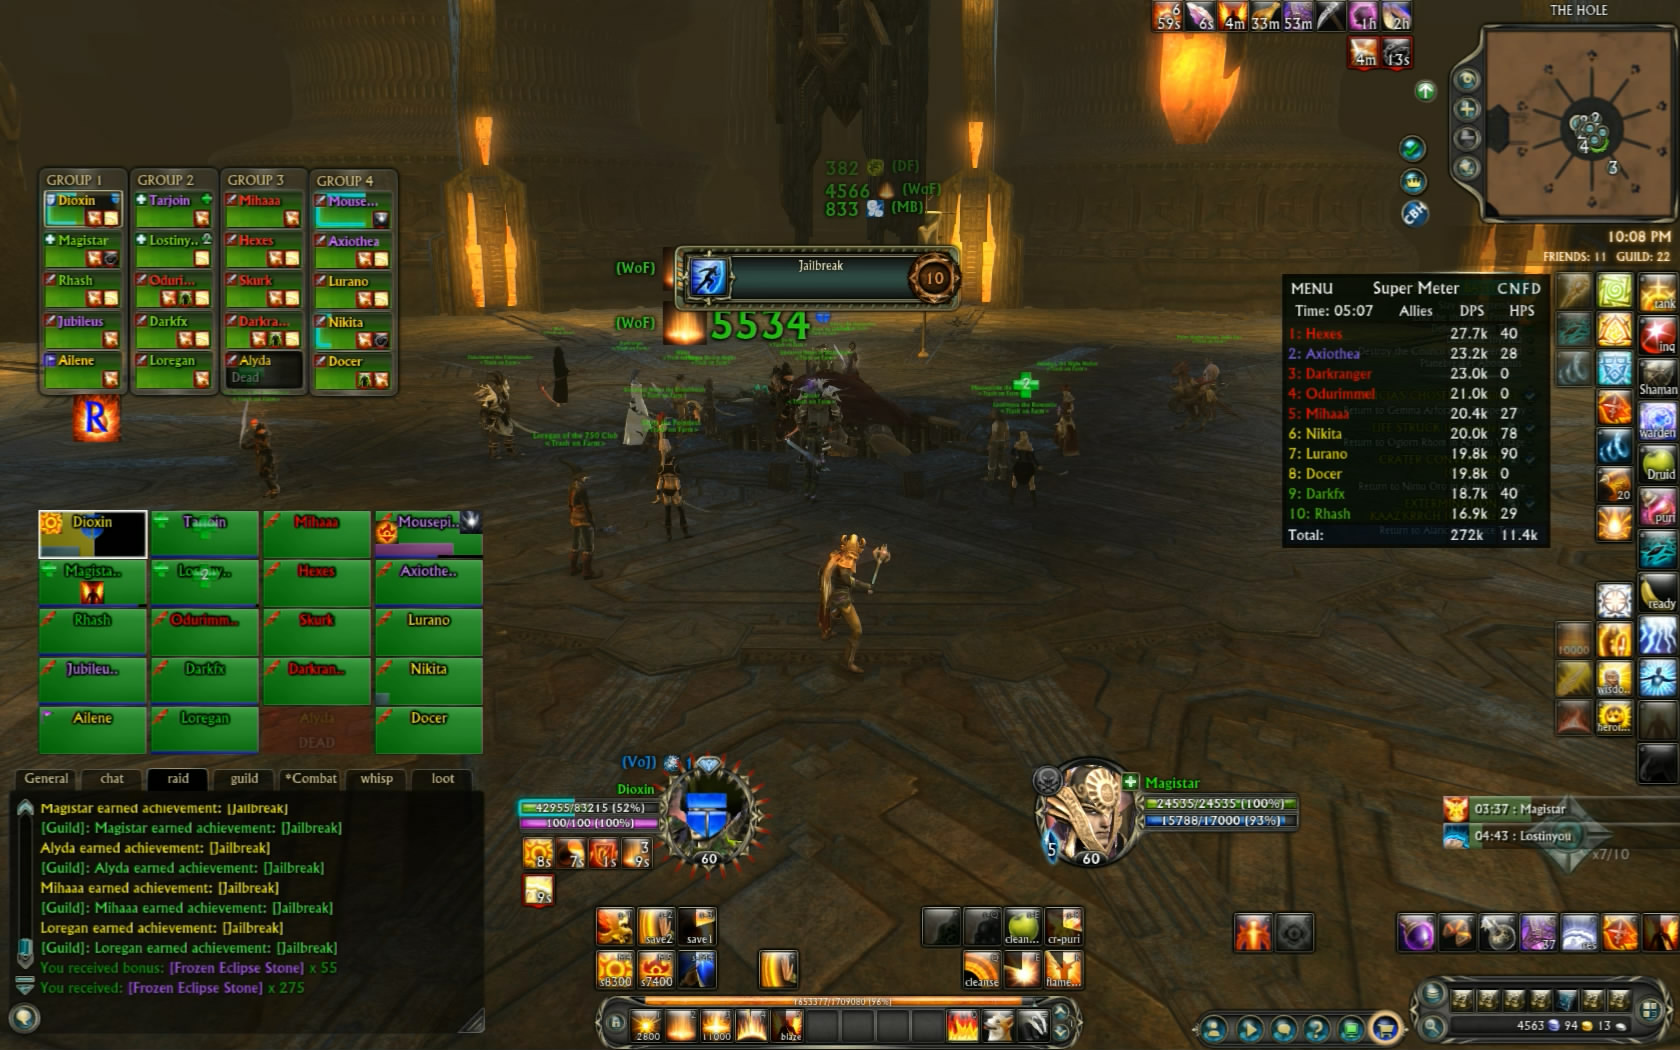
Warden Thrax is the third boss in Planebreaker Bastion. Before Warden Thrax appears you first have to defeat a mini encounter.
Warden Thrax features individual survivability. If you get knocked of the platform no healer will be able to save you. If you stand on a beam at the wrong time it will instantly kill you. Therefore it is important you can go 2 or 3 “rounds” of mechanics without dying. Do not focus on your dps, focus on staying alive!
In the final 11% the only thing you have to do is burn the boss down. So make sure all your cooldowns, including flaring power and orchestra, are ready. Having a spec that has burst/a bonus on <30% hp such as nightblade is a very good idea
- Suppression: Yellow Circles that are following random raiders. Kite them away from others
- Tectonic Transference: Yellow Bubble over the inner Platform. Move out of it.
- Rockslide: Red cone, spins around and will do damage and a knockback
- Seismic Disturbance: Knocks back everyone. 50% of platforms will be gone so check positioning or fall down and die.
- Chain Gang: 2 or 3 Players get linked by a chain. Other players touching the Chain take +- 9K damage per tick
- Greater Tectonic Transference: Everything will get a yellow bubble. All outer platforms will disappear. Move to a beam.
- Execution: Cast that starts around 11%, kill boss before it finishes or whipe!
Phase 1 features Suppression, Chain Gang, Tectonic Transference, Rockslide and Beams. Usually in that order.
Start the fight:
After the boss is pulled everyone should spread around near the boss. Try to stay in the inner circle. However do not touch the center!
Suppression:
Suppression will be the first mechanic. During this mechanic yellow circles will spawn. They will follow the closest target. Make sure you are not hit by them. A double or triple hit will instantly kill you, that is why you spread.
If a suppression is following you make sure to kite him away from the other players. Since everyone should be in the inner circle this means kiting along the middle/outer circle.
Chain gang:
Chain Gang will also appear before or after the suppression. Two or Three players are linked. Try to stack together without moving the chain over other players. The chain will hit them for 9K damage per tick so you can cause a whipe!
Tectonic Transference:
Tectonic Transference is next. It can be recognized by a big yellow bubble covering the entire inner platform. Move out of it. Make sure you do not move on a platform that is about to disappear. You can recognize them by a smaller yellow bubble.
Shortly after Tectonic Transference is done your current platform will disappear. However the inner platform will glow red. Move too quickly and you will be damage (spellname?). When the cloud animation is complete it is safe to move forward. You could also first move to the neighboring platform that just came up
There are usually new suppressions after this mechanics.
Rockslide:
Rockslide is announced by a red cone. It will only do one rotation so if you start on the right side of it, you hardly have to move. If you get hit by it you are likely to be thrown off the platform.
After Rockslide there will be a Seismic Disturbance. You will be knockbacked and damaged. Keep in mind that 50% of the platforms are retracted. The trick here is to position yourself so you will land on a platform. If your alignment is wrong you will fall off and die.
There are several ways to check your positioning. If your opposing platform is going (or is going away, yellow bubble) the one behind you will be safe. Another option is to just look behind you (default key=V).
Beams:
Greater Tectonic Transference, also known as Beams, will remove all platforms. You can recognize it by all platforms getting a yellow bubble. Move to a beam as soon as possible.
As soon as your beam gets a glistering animation press Jump. There will be a total of 4 jumps, but not all beams will get to do 4 jumps.
After the 4th jump the platforms will become available again and the beams will instantly kill you. Therefore it is important too quickly get off the beams. Do not run to the center, it is still red!
If you accidentally jumped after the 4th jump you can strafe in the air and try to land next to the beam.
Beams while chained:
If you are chained make sure you stand in front or behind the other players with your partner. If one of you stands in front, and the other one behind you will kill them in 3-4 seconds. If possible go to a separate beam (there are plenty). Also try not to walk too stacked. If you are perfectly stacked the other players do not realize you have a beam.
After you have completed a “round” you will have to repeat the same mechanics. Tectonic transference is percentage based; 70% and 48%). If DPS is low enough there will be a third one. However the boss will finish other mechanics that are active first. Therefore the timing depends on your DPS.
The rest of the mechanics are sort of random.There are several ways to spot the next mechanics:
Yellow bubbles everywhere means beams. Red cone means Rockslide. One big yellow bubble means Tectonic Transference
Boss cast bar and or emotes will announce most mechanics
You can get Karuul Alerts for Bubbles, Knockback and Beams
The mechanics themselves are 100% similar to Phase 1.
When you get the boss to +- 11% he will start casting Execution. If he completes this cast the raid wipes. Mechanics will stop happening and you have ? minute to kill the boss. Using Orchestra and Flaring power!
Resurrect dps just before this phase so they can spend 100% of it doing dps instead of re-buffing.
-Obey all mechanics
-Auto attacks from boss reduce your maximum hp, save cool downs for when it is low!
-Beam phase will reset your maximum hp
-Obey all mechanics
-Be prepared to heal 2 to 3 failing players on Suppression. If you lose them now you have pretty much lost the fight
– Burst damage during knockback, raid heals!
-Save purifier shield CD for when tank is very low
-Obey all mechanics
-Use burst specs for Phase 3
Karuul Alerts for Chain Gang, Rockslide, Suppression, Seismic disturbance and Greater Tectonic Transference.
- Type /kalert
- Select Subset 1
- Go to File>Import set
- Copy paste the code into the field
- Press import
Thanks Tarjoin (Trash on Farm) for the ability names.
Ps: there will be a full video guide including the kill if this written guide is verified to be accurate :).
Thanks for reading this article, if you have any additional questions feel free to post them in the comments.

